
If you still want to stay on Windows, there is a tool that facilitates the migrations. It's just been released from Microsfot. And another good news, Microsfot will reduce some of the AI copilot bloat. In fact, the company is reducing Copilot's presence in apps like Notepad, Snipping Tool, Photos, and Widgets, and removing it from areas such as Notifications and Settings. This is thanks to the community pressure!
So, if you're still on Windows 10 (version 2004 or newer) or an older Windows 11 build like 24H2 or earlier you can use it for migrating your system more easy. One of the cleanest ways to get there without reinstalling your machine or messing with ISOs is the new Windows 11 Installation Assistant 25H2.
I’ve been running this in my lab environment on a few test machines (both physical and virtual), and it really does keep your files, apps, and most settings intact while pulling down the full 25H2 upgrade. No drama, no data loss in my tests. If you’re looking for the simplest path to the latest features, security patches, and performance tweaks in 25H2, this is it.
Here’s the full guide – step by step, exactly how I do it.
What is the Windows 11 Installation Assistant?
It’s a small (about 4 MB) executable from Microsoft that handles the entire in-place upgrade process for you. It automatically checks your hardware compatibility, downloads the necessary files (around 3 GB), installs Windows 11 25H2, and reboots as needed. Perfect for x64 PCs – note that it doesn’t support ARM-based devices (you’ll need Windows Update or an ISO for those).
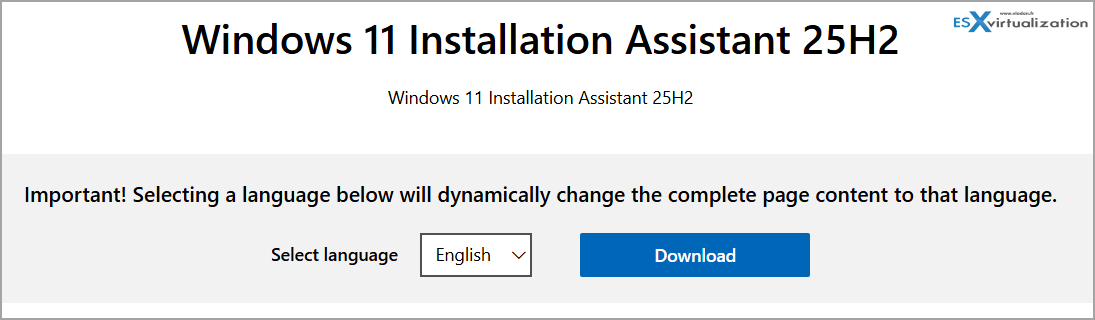
You can grab it directly from the official Microsoft Download Center:
Download Windows 11 Installation Assistant 25H2
The file is called Windows11InstallationAssistant.exe and was published on September 30, 2025.
Prerequisites – Don’t Skip These
Before you start, make sure your PC is ready:
- Hardware requirements (same as Windows 11 in general): 1 GHz or faster 64-bit processor with 2+ cores, 4 GB RAM, 64 GB storage (with at least 9 GB free), UEFI firmware with Secure Boot enabled, TPM 2.0, and a DirectX 12-compatible GPU with WDDM 2.0 driver.
- Current OS: Windows 10 version 2004 or later, or any previous Windows 11 build.
- Valid license: Windows 10 or 11 license (it carries over).
- Backup: I always recommend a full backup of important data – just in case something unexpected happens (rare, but better safe than sorry).
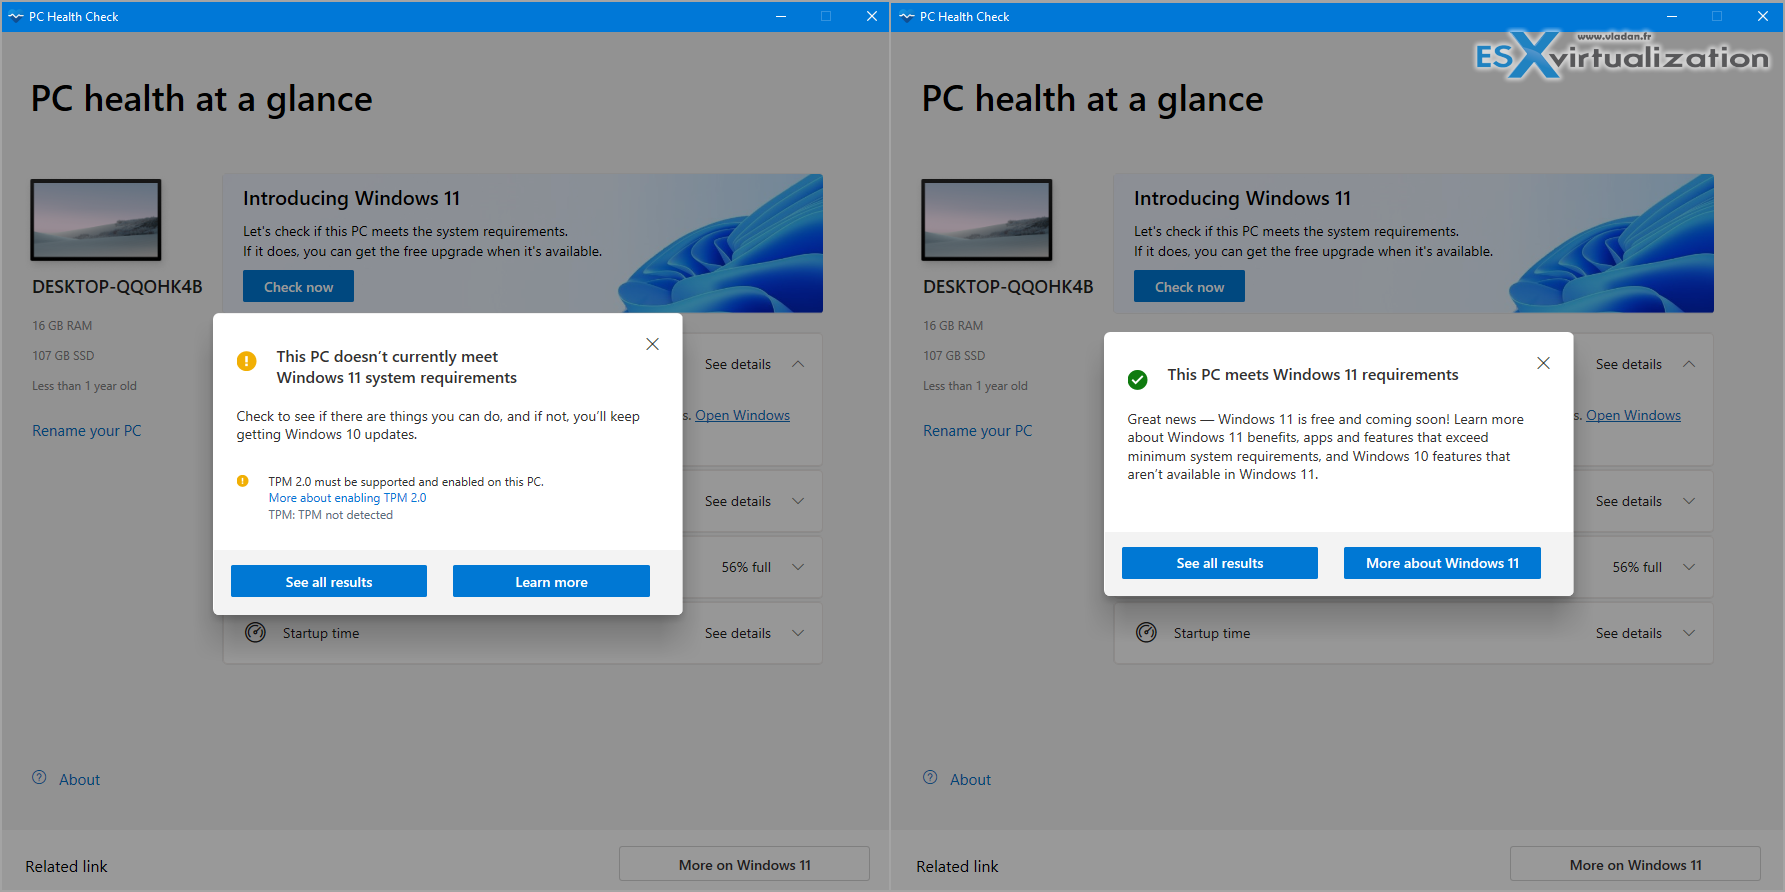
- PC Health Check App: Download and run Microsoft’s free PC Health Check app first to confirm everything is compatible.
My lab VM did not have a TPM 2.0. I had to fix it by adding a virtual hardware and encryption. If you're dealing with physical machine (and usually do), a TPM 2.0 devices are available on Amazon for about $20.
For a laptop, that's another story…. (Rufus and clean install etc, or Linux alternatives – Voyage, Zorin, Winux…. you know)
Run everything with a stable power source – no interruptions during the process.
Step-by-Step: Upgrading with the Installation Assistant
- Download the tool – Head over to the Microsoft link above and click the big Download button. Save the Windows11InstallationAssistant.exe file somewhere easy to find (I usually drop it on the Desktop).
- Run as Administrator – Right-click the executable and choose Run as administrator. Accept the User Account Control (UAC) prompt.
- Compatibility check – The assistant will automatically scan your hardware. If something doesn’t meet the requirements, it will stop and tell you (usually something like “This PC can’t run Windows 11”). Fix the issue and try again.
- Accept the license terms – Review and click Accept to continue.
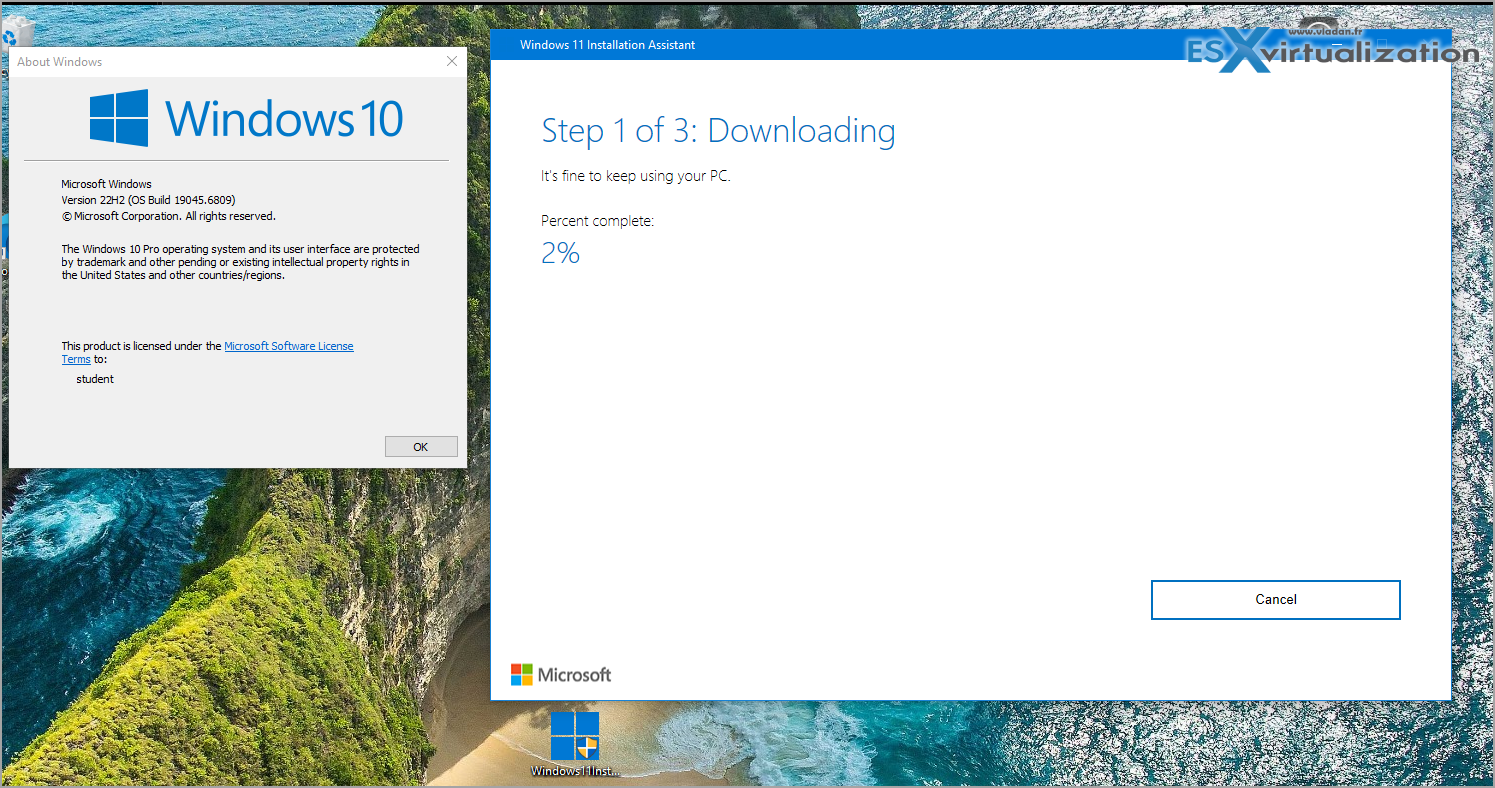
- Download and install – The tool will now download the 25H2 files. You’ll see a progress bar – this is the longest part (depends on your internet speed). Once downloaded, it starts the installation automatically.
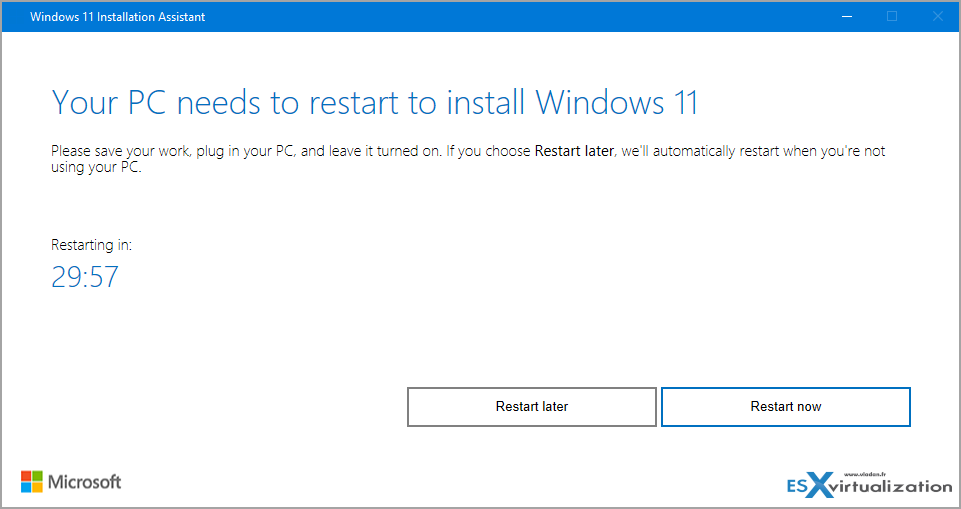
- Restart when prompted – The assistant will ask you to restart. Your PC may reboot several times – do not turn it off manually. Just let it do its thing. The whole process can take 30–60 minutes or more depending on your hardware.
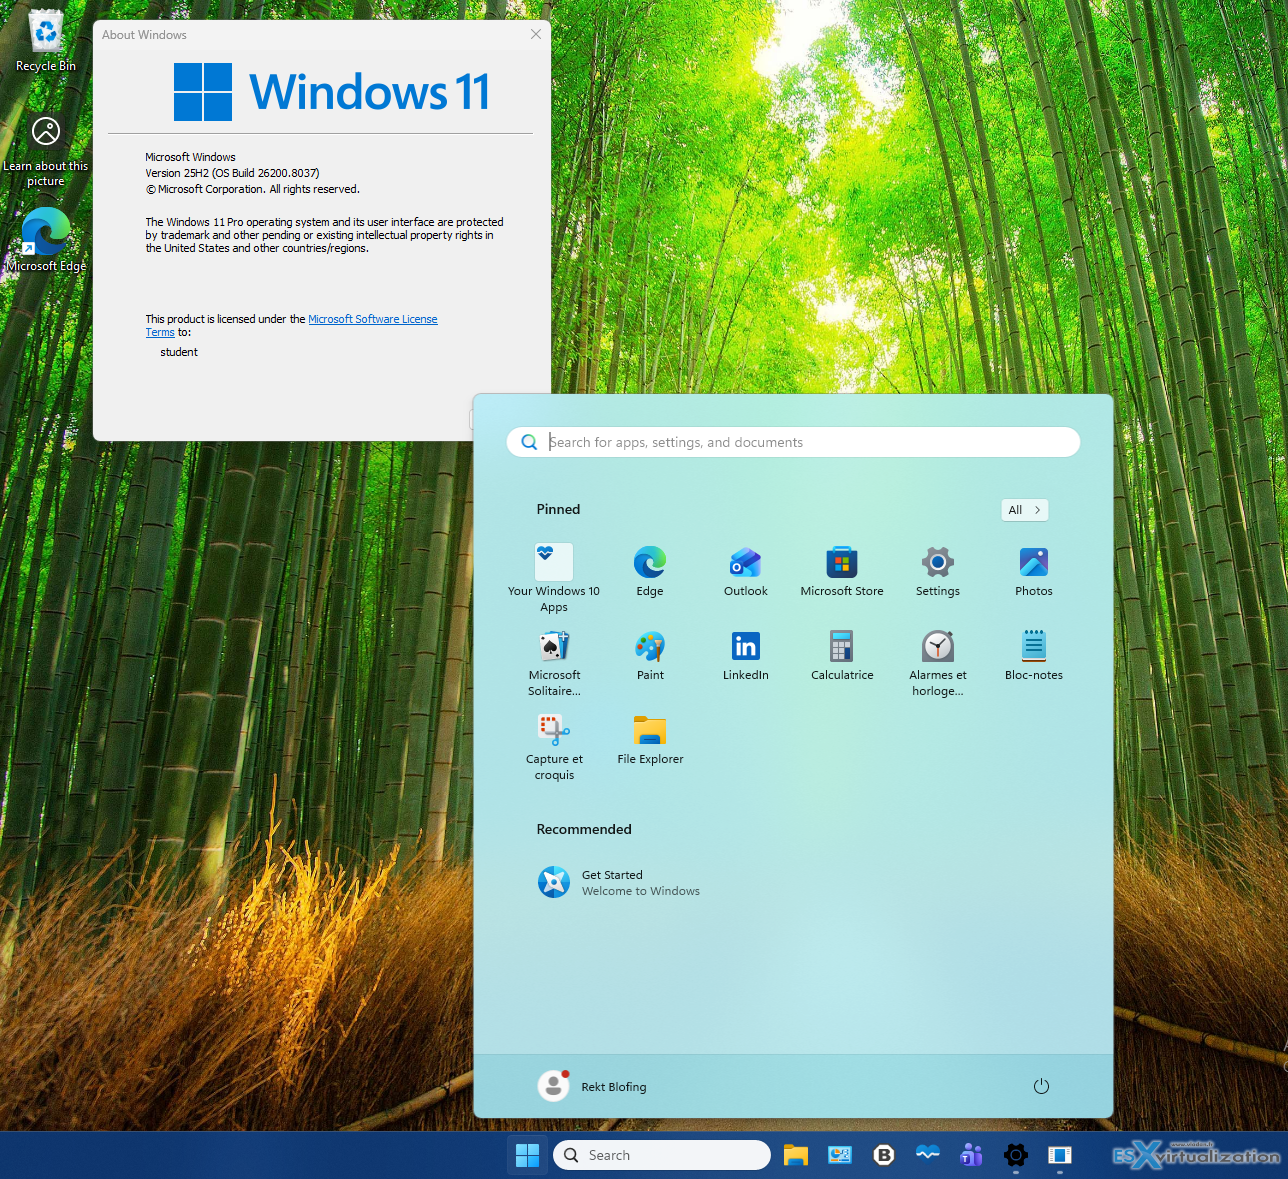
- Verify the upgrade – After everything settles, go to Settings > System > About. You should now see Windows 11 version 25H2 with the latest OS build.
In my lab tests, the whole thing ran smoothly on compatible hardware, and all my apps and files were right where I left them.
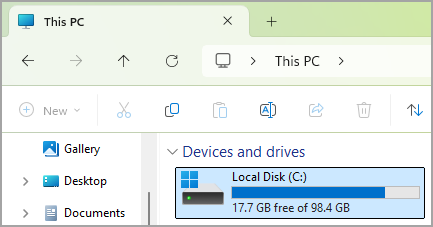
Note: You'll need disk space. I was asked for an additional disk space during the installation process. I thought I had enough (100Gb disk) but I did not. Luckilly I could “plug-in” a new disk (the test was in the VM running in VMware Workstation btw) so the process could continue without starting from zero.
Tips and Potential Gotchas
- Already on 24H2? There’s actually a smaller enablement package (KB5054156) available after installing the latest cumulative update, but the Installation Assistant is still the go-to method if you’re coming from Windows 10 or much older 11 builds.
- Power and interruptions: Plug in your laptop and make sure nothing can interrupt the process.
- Errors? The most common ones are hardware-related (TPM/Secure Boot). Double-check those in BIOS/UEFI if needed.
- ARM devices: Skip this tool and use Windows Update or create a bootable ISO instead.
Final Words
The Windows 11 Installation Assistant is probably the least stressful way to get to 25H2 right now. No need to create media, no clean installs, and Microsoft handles all the heavy lifting. I still prefer clean install, but sometimes you need to upgrade if you don't have the skills to reinstall all, or if you are time constrained. So yes, the tool is working, and working as expected.
Have you tried the Installation Assistant yet? Did it go smoothly on your hardware? Drop a comment below with your experience – I read every single one.
Stay safe and keep your systems updated!
Related posts you might like:
More posts from ESX Virtualization:
- Ready for Voyage? Try Voyager Linux Distro – A Slick, Hybrid Distro That Just Works
- VMware Workstation Pro 25H2U1 Released: Why You Should Update Now
- Thinware SimpleVM – A Free-Forever Hypervisor Alternative for VMware Admins Tired of Broadcom’s Rising Costs
- Veeam Backup and Replication Upgrade on Windows – Yes we can
- Securing Your Backups On-Premises: How StarWind VTL Fits Perfectly with Veeam and the 3-2-1 Rule
- Winux OS – Why I like it?
- VMware Alternative – OpenNebula: Powering Edge Clouds and GPU-Based AI Workloads with Firecracker and KVM
- Proxmox 9 (BETA 1) is out – What’s new?
- Another VMware Alternative Called Harvester – How does it compare to VMware?
- VMware vSphere 9 Standard and Enterprise Plus – Not Anymore?
- VMware vSphere Foundation (VVF 9) and VMware Cloud Foundation (VCF 9) Has been Released
- Vulnerability in your VMs – VMware Tools Update
- VMware ESXi FREE is FREE again!
- No more FREE licenses of VMware vSphere for vExperts – What’s your options?
- VMware Workstation 17.6.2 Pro does not require any license anymore (FREE)
- Two New VMware Certified Professional Certifications for VMware administrators: VCP-VVF and VCP-VCF
- Patching ESXi Without Reboot – ESXi Live Patch – Yes, since ESXi 8.0 U3
- Update ESXi Host to the latest ESXi 8.0U3b without vCenter
- Upgrade your VMware VCSA to the latest VCSA 8 U3b – latest security patches and bug fixes
- VMware vSphere 8.0 U2 Released – ESXi 8.0 U2 and VCSA 8.0 U2 How to update
- What’s the purpose of those 17 virtual hard disks within VMware vCenter Server Appliance (VCSA) 8.0?
- VMware vSphere 8 Update 2 New Upgrade Process for vCenter Server details
- vSphere 8.0 Page
- ESXi 7.x to 8.x upgrade scenarios
- VMware vCenter Server 7.03 U3g – Download and patch
- Upgrade VMware ESXi to 7.0 U3 via command line
- VMware vCenter Server 7.0 U3e released – another maintenance release fixing vSphere with Tanzu
- What is The Difference between VMware vSphere, ESXi and vCenter
- How to Configure VMware High Availability (HA) Cluster
Stay tuned through RSS, and social media channels (Twitter, FB, YouTube)
Leave a Reply