
Welcome back to our VMware Certified Professional – VMware vSphere Foundation Administrator (2V0-16.25) study guide series! This section is part of the upcoming VCP-VVF Study Guide Page, which will be released as a PDF when completed—check it out at https://www.vladan.fr/vcp-vvf-administrator/.
Today, we’re continuing with Objective 4.1 – VVF: Deploy and Configure, focusing on Given a scenario, describe the deployment of a VMware vSphere Foundation-based environment. Deploying a VVF 9.0 environment involves setting up vCenter Server, ESXi hosts, vSAN storage, networking, and supporting services like vSphere HA and DRS to create a robust virtualization platform.
This objective is critical for the 2V0-16.25 exam, testing your ability to outline the deployment process in real-world scenarios. Building on our previous post (Objective 4.1, Part 1 on identifying VVF components), we’ll provide detailed steps, practical tips, and exam-focused guidance using a realistic scenario, aligned with VMware’s official vSphere 9.0 documentation https://techdocs.broadcom.com/us/en/vmware-cis/vsphere/vsphere/9-0.html. Let’s get into it and deploy a VVF environment!
Why VVF Deployment Matters
Deploying a VMware vSphere Foundation (VVF) 9.0 environment requires a systematic approach to configure its core components—vCenter Server, ESXi hosts, vSAN, networking, and services like HA and DRS—to support virtualized workloads. Understanding the deployment process ensures you can build a scalable, high-availability environment that meets business needs. Objective 4.1, Part 2, evaluates your ability to describe this process in scenarios involving new deployments or expansions. We’ll outline the steps to deploy a VVF environment, focusing on a vSAN-based setup, to prepare you for the exam and real-world administration.
Scenario: Deploying a VVF-Based Environment
Let’s use a typical exam scenario: A medium-sized business is deploying a new VMware vSphere Foundation (VVF) 9.0 environment to support 20 virtual machines (VMs) for a mixed workload (10 web servers, 5 databases, and 5 VDI desktops). The environment includes a 4-host cluster (“VVF-Cluster”) with vSAN for storage, managed by vCenter 9.0. The physical servers have 2 CPUs, 128 GB RAM, 1 NVMe SSD (400 GB cache), 2 SSDs (1 TB each for capacity), and 2x 10 GbE NICs per host.
You must: describe the deployment process for the VVF environment, including vCenter, ESXi, vSAN, networking, and HA/DRS, ensuring support for the 20 VMs with high availability and performance. This scenario tests your ability to describe VVF deployment for the 2V0-16.25 exam.
Describing the Deployment of a VVF-Based Environment: Step-by-Step
Deploying a VVF 9.0 environment involves installing and configuring its core components in a logical sequence. Below is a detailed guide describing the deployment process for the scenario, using the vSphere Client and manual steps for VVF 9.0.
1. Deploy vCenter Server Appliance (VCSA)

Purpose: vCenter Server provides centralized management for the VVF environment, enabling configuration of hosts, VMs, storage, and networking.
Deployment Process:
Prepare for Deployment:
Download the VCSA 9.0 ISO from VMware Customer Connect.
Verify hardware requirements: Minimum 2 CPUs, 16 GB RAM, 300 GB storage (use a temporary ESXi host or existing server).
Install VCSA:
- Mount the VCSA ISO on a management workstation and run the installer.
- Select Install → Embedded Platform Services Controller for a single-site deployment.
- Configure:Target ESXi Host: Deploy to a temporary ESXi host (e.g., IP 192.168.1.5).
- VCSA Name: “vcenter-vvf” (IP 192.168.1.20).
- Root Password: Set a secure password.
- Network: Static IP (192.168.1.20, VLAN 10, management network).
- SSO Domain: vsphere.local, admin user ([email protected]).
- Complete Stage 1 (OVA deployment) and Stage 2 (configuration) via the installer.
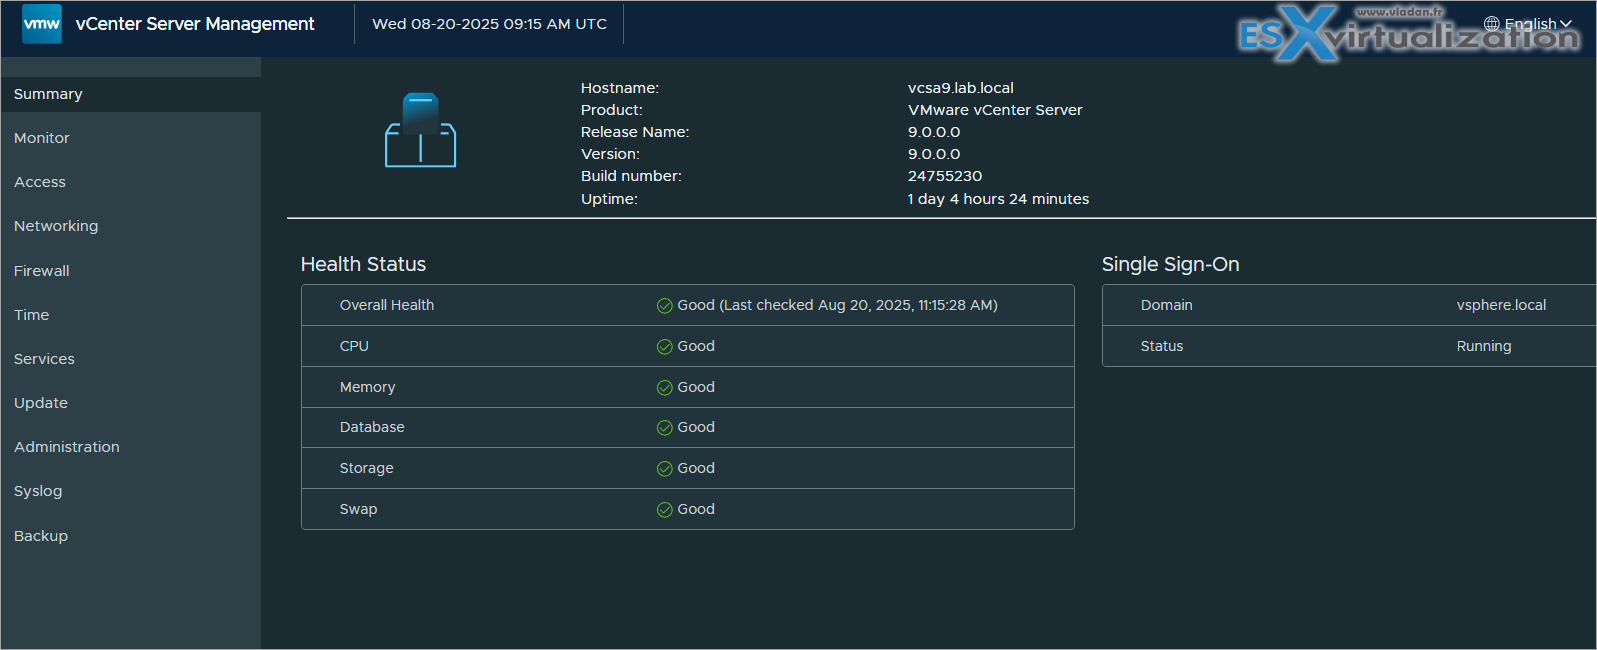
Verification:
Access vCenter at https://192.168.1.20/ui using [email protected].
Check Home → Administration → System Configuration to confirm VCSA health.
Scenario Example: Deploy VCSA (“vcenter-vvf”, IP 192.168.1.20) on a temporary ESXi host to manage “VVF-Cluster” and its 20 VMs.Study Tip: Practice VCSA deployment in VMware Hands-On Labs https://labs.hol.vmware.com/. Memorize the two-stage process (OVA deployment, configuration) for the exam.
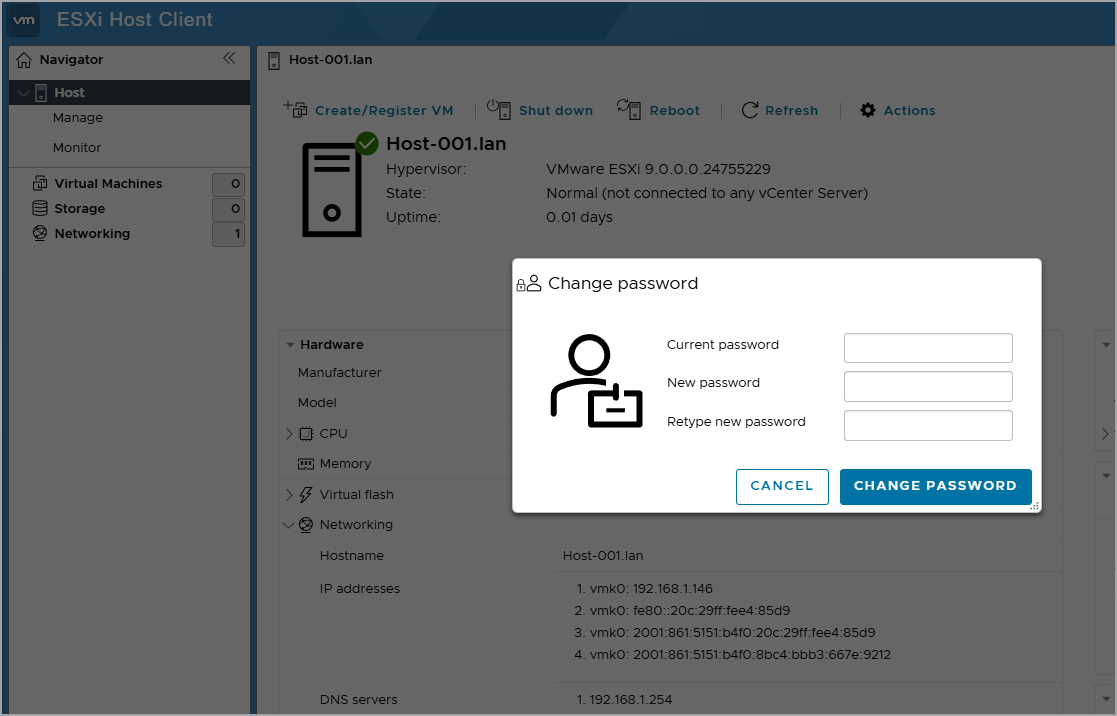
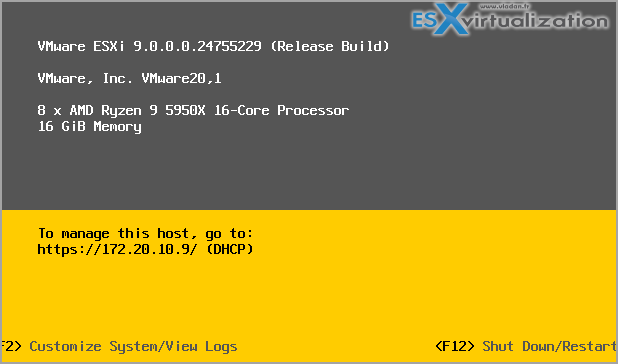
2. Install and Configure ESXi Hosts
Purpose: ESXi hosts provide the compute and memory resources to run VMs and contribute storage to vSAN.
Deployment Process:
Install ESXi 9.0:
- Download the ESXi 9.0 ISO from VMware Customer Connect.
- Create bootable media (e.g., USB or ISO) and install on each of the 4 servers (IPs 192.168.1.10-13).
- Configure during installation:Root Password: Set a secure password.
- Network: Assign static IPs (192.168.1.10-13, VLAN 10 for management).
- Storage: Install to a local disk (e.g., 100 GB SSD).
Add Hosts to vCenter:
- Log in to vCenter at https://192.168.1.20/ui.
- Navigate to Hosts and Clusters → New Datacenter → Name: “VVF-Datacenter”.
- Create a cluster: New Cluster → Name: “VVF-Cluster”.
- Add hosts: VVF-Cluster → Actions → Add Host, enter IPs (192.168.1.10-13), and use root credentials.
Verification:
- Check Hosts and Clusters → VVF-Cluster → Hosts to confirm all 4 hosts are connected and in “Connected” state.
- Verify hardware: Host → Configure → Hardware shows 2 CPUs, 128 GB RAM, 1 NVMe SSD, 2 SSDs, and 2x 10 GbE NICs per host.
Scenario Example: Install ESXi 9.0 on 4 servers (192.168.1.10-13), add them to “VVF-Cluster” in vCenter, and verify hardware compatibility for vSAN and VMs.
Study Tip: Memorize ESXi installation and vCenter integration steps. Practice adding hosts in a lab for the exam.
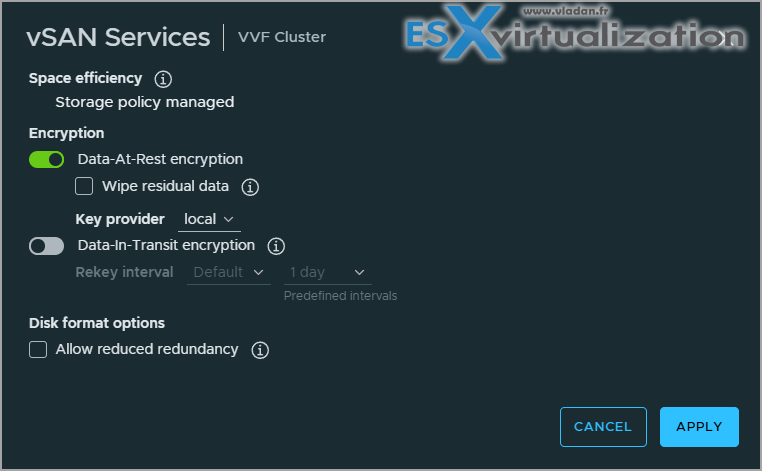
3. Configure vSAN Datastore
Purpose:
vSAN aggregates local disks across ESXi hosts to create a shared datastore for the 20 VMs, supporting high availability and performance.
Deployment Process (from Objective 2.3, Part 3):
Enable vSAN:
- Navigate to Cluster → Configure → vSAN → Services → Configure.
- Select Single site cluster and vSAN OSA (Original Storage Architecture, suitable for all-flash setup).
- Disk Claiming: Select Automatic to claim 1 NVMe SSD (400 GB cache) and 2 SSDs (1 TB capacity) per host, forming 4 disk groups.
- Enable Deduplication and Compression for space efficiency (Objective 2.3, Part 6).
- Enable Encryption using “VVF-KMS” (IP 192.168.1.50, from Objective 2.2, Part 7).
- Complete the wizard to create “vSAN-Datastore” (~2 TB usable capacity after FTT=1).
Verification:
- Check Storage → Datastores → vSAN-Datastore for capacity.
- Verify Cluster → Monitor → vSAN → Health for green status (disks, encryption, network).
Scenario Example: Enable vSAN OSA on “VVF-Cluster” to create “vSAN-Datastore” for the 20 VMs, with deduplication, compression, and encryption enabled.
Study Tip: Review Objective 2.3, Part 3 for vSAN deployment details. Practice enabling vSAN in a lab, focusing on disk claiming and health checks.
4. Configure Networking
Purpose: Networking ensures connectivity for VMs, management, vMotion, and vSAN traffic, with isolation and performance optimization.
Deployment Process (from Objective 2.4, Part 1):
Create vSphere Distributed Switch (vDS):
- Navigate to Networking → New Distributed Switch → Name: “vDS-VVF”.
- Add all 4 hosts (192.168.1.10-13) to the vDS.
- Configure uplinks: Assign 2x 10 GbE NICs per host for redundancy.
Create Port Groups:
- Create port groups on “vDS-VVF”:VM-Traffic: VLAN 20, for web, database, and VDI VMs.
- vMotion: VLAN 30, for VM migrations.
- vSAN: VLAN 40, for vSAN traffic.
- Set MTU to 9000 (jumbo frames) for vMotion and vSAN port groups.
Configure VMkernel Adapters:
- For each host: Host → Configure → Networking → VMkernel NICs → Add VMkernel NIC.Management (vmk0): On vSS (“vSwitch0”, VLAN 10, IPs 192.168.10.10-13).
- vMotion (vmk1): On vDS (“vMotion” PG, VLAN 30, IPs 192.168.30.10-13).
- vSAN (vmk2): On vDS (“vSAN” PG, VLAN 40, IPs 192.168.40.10-13).
Verification:
- Check Networking → vDS-VVF for port group and uplink status.
- Test connectivity: Host → Configure → Networking → VMkernel NICs → Ping for vMotion and vSAN IPs.
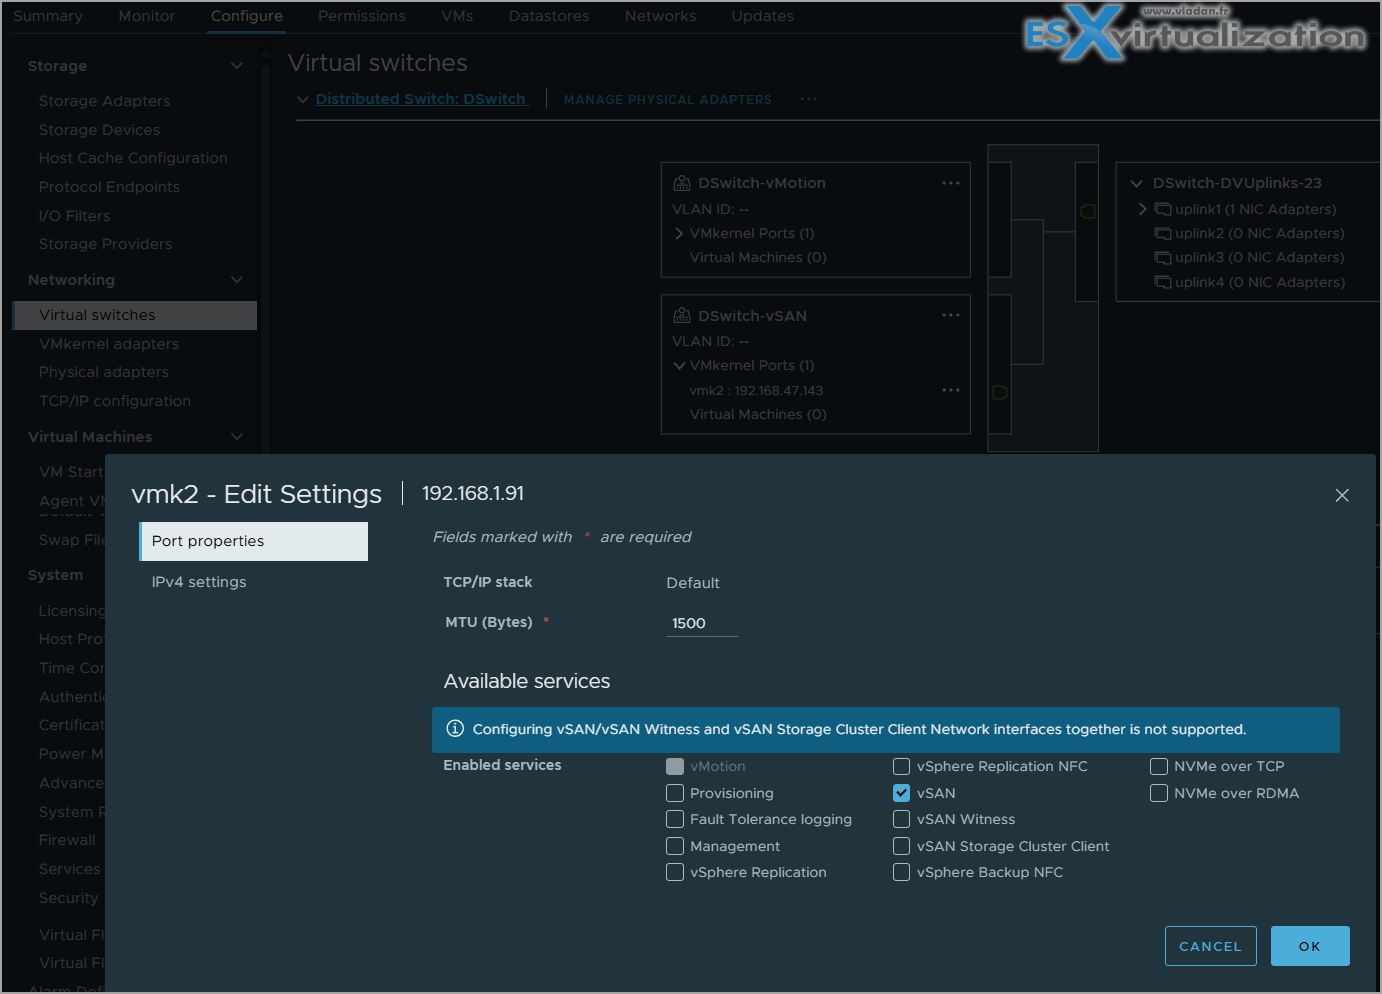
Scenario Example: Configure “vDS-VVF” with port groups for VM traffic (VLAN 20), vMotion (VLAN 30), and vSAN (VLAN 40), and VMkernel adapters for all traffic types.
Study Tip: Review Objective 2.4, Part 1 for networking details. Practice configuring vDS and VMkernel adapters in a lab.
5. Enable vSphere HA and DRS
Purpose: HA ensures VM availability, and DRS optimizes resource allocation for the 20 VMs.Deployment Process:Enable HA:Navigate to Cluster → Configure → vSphere Availability → Edit.
Enable vSphere HA.
- Configure:Host Failure Response: Restart VMs.
- Datastore Heartbeating: Select “vSAN-Datastore”.
- VM Monitoring: Enable for VMware Tools heartbeats.
Enable DRS:
- Navigate to Cluster → Configure → vSphere DRS → Edit.
- Enable DRS and set to Fully Automated for load balancing.
Verification:
- Check Cluster → Monitor → vSphere HA for HA readiness.
- Verify Cluster → Monitor → DRS → Resource Distribution for balanced VM placement.
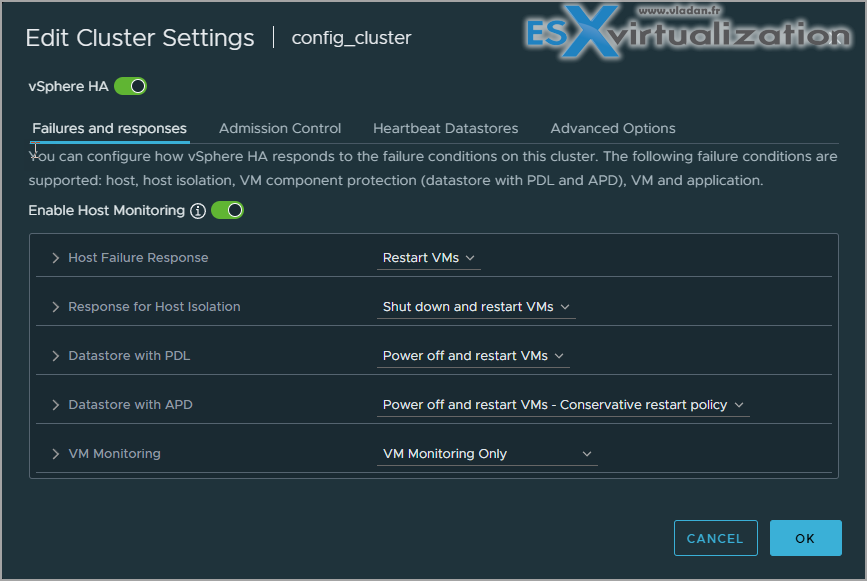
Scenario Example: Enable HA and DRS on “VVF-Cluster” to ensure availability and performance for the 20 VMs (web, database, VDI).
Study Tip: Practice enabling HA and DRS in a lab, focusing on heartbeating and automation settings for the exam.
6. Deploy VMs and Apply Storage Policies
Purpose: Deploy the 20 VMs and configure storage policies to meet workload requirements.
Deployment Process (from Objective 2.3, Part 4):
Create Storage Policies:
- Navigate to Policies and Profiles → VM Storage Policies → Create.
- Create two policies:Web-VDI-Policy: FTT=1, RAID-1, thin provisioning for web servers and VDI VMs.
- DB-Policy: FTT=1, RAID-5, compression for databases.
Deploy VMs:
- Use a Content Library template (Objective 4.1, Part 1) for efficient deployment.
- Navigate to Hosts and Clusters → VVF-Cluster → Actions → New Virtual Machine.
- Deploy 10 web servers, 5 databases, and 5 VDI VMs on “vSAN-Datastore”.
- Apply storage policies: VM → VM Policies → Edit VM Storage Policies (Web-VDI-Policy for web/VDI, DB-Policy for databases).
Verification:
- Check VM → Summary → Storage Policy for compliance.
- Monitor Cluster → Monitor → vSAN → Capacity to ensure ~2 TB capacity supports all VMs.
Scenario Example: Deploy 20 VMs using templates, apply “Web-VDI-Policy” (RAID-1) to web/VDI VMs and “DB-Policy” (RAID-5) to databases, and verify compliance.
Study Tip: Review Objective 2.3, Part 4 for storage policy details. Practice VM deployment and policy application in a lab.
Exam Scenarios and Tips
Scenarios:Scenario: A VVF deployment fails to manage hosts. What should you check?
Answer: vCenter Server deployment and connectivity (e.g., IP 192.168.1.20).
Scenario: vSAN deployment fails. What’s a likely issue?
Answer: Incompatible disks or missing VMkernel adapters for vSAN traffic.
Scenario: VMs are not highly available. What should you enable?
Answer: vSphere HA with vSAN heartbeating.
Study Tips:
- Practice VVF deployment in VMware Hands-On Labs https://labs.hol.vmware.com/.
- Memorize: VCSA deployment (two stages), ESXi installation, vSAN setup, networking (vDS/VMkernel), HA/DRS, and VM deployment.
- Focus on scenario-based questions involving deployment steps and component integration.
- Review VMware VVF 9.0 documentation https://techdocs.broadcom.com/us/en/vmware-cis/vcf/vcf-9-0-and-later/9-0.html.
Resources:
- VCP-VVF Study Guide Page: https://www.vladan.fr/vcp-vvf-administrator/
- VMware VVF 9.0 Documentation: https://techdocs.broadcom.com/us/en/vmware-cis/vcf/vcf-9-0-and-later/9-0.html
Sample Exam Questions
What is the first step in deploying a VVF 9.0 environment?
A. Enable vSAN
B. Deploy vCenter Server
C. Configure DRS
D. Create VMkernel adapters
Answer: B. Deploy vCenter Server.
Which component requires VMkernel adapters in a VVF deployment?
A. vCenter Server
B. vSAN Datastore
C. vSphere HA
D. Content Library
Answer: B. vSAN Datastore.
What ensures VM load balancing in a VVF cluster?
A. vSphere DRS
B. vSphere Standard Switch
C. Thin Provisioning
D. vSAN Encryption
Answer: A. vSphere DRS.
Final Words
Describing the deployment of a VVF 9.0 environment is a critical skill for the 2V0-16.25 exam and VVF administration. By mastering the deployment of vCenter, ESXi, vSAN, networking, HA/DRS, and VMs, you can build a robust virtualization platform. The upcoming VCP-VVF Study Guide Page, available at https://www.vladan.fr/vcp-vvf-administrator/, will be released as a PDF to support your preparation. Stay tuned for the next part of Objective 4.1! Happy studying, and good luck on your VCP-VVF journey!
More posts from ESX Virtualization:
- 5 New VMware Certifications for VVF and VCF
- VMware Alternative – OpenNebula: Powering Edge Clouds and GPU-Based AI Workloads with Firecracker and KVM
- Proxmox 9 (BETA 1) is out – What’s new?
- Another VMware Alternative Called Harvester – How does it compare to VMware?
- VMware vSphere 9 Standard and Enterprise Plus – Not Anymore?
- VMware vSphere Foundation (VVF 9) and VMware Cloud Foundation (VCF 9) Has been Released
- Vulnerability in your VMs – VMware Tools Update
- VMware ESXi FREE is FREE again!
- No more FREE licenses of VMware vSphere for vExperts – What’s your options?
- VMware Workstation 17.6.2 Pro does not require any license anymore (FREE)
- Migration from VMware to another virtualization platform with Veeam Backup and Replication
- Two New VMware Certified Professional Certifications for VMware administrators: VCP-VVF and VCP-VCF
- Patching ESXi Without Reboot – ESXi Live Patch – Yes, since ESXi 8.0 U3
- Update ESXi Host to the latest ESXi 8.0U3b without vCenter
- Upgrade your VMware VCSA to the latest VCSA 8 U3b – latest security patches and bug fixes
- VMware vSphere 8.0 U2 Released – ESXi 8.0 U2 and VCSA 8.0 U2 How to update
- What’s the purpose of those 17 virtual hard disks within VMware vCenter Server Appliance (VCSA) 8.0?
- VMware vSphere 8 Update 2 New Upgrade Process for vCenter Server details
- VMware vSAN 8 Update 2 with many enhancements announced during VMware Explore
- What’s New in VMware Virtual Hardware v21 and vSphere 8 Update 2?
- vSphere 8.0 Page
- ESXi 7.x to 8.x upgrade scenarios
- VMware vCenter Server 7.03 U3g – Download and patch
- Upgrade VMware ESXi to 7.0 U3 via command line
- VMware vCenter Server 7.0 U3e released – another maintenance release fixing vSphere with Tanzu
- What is The Difference between VMware vSphere, ESXi and vCenter
- How to Configure VMware High Availability (HA) Cluster
Leave a Reply