
Welcome back to our VMware Certified Professional – VMware vSphere Foundation Administrator (2V0-16.25) study guide series! Today, I'll be detailing this section: Objective 2.2 – VMware Compute Fundamentals, focusing on the first part: Given a scenario, deploy and configure VVF compute components (vCenter and ESXi). Difficult task to do in a single blog post indeed! However, it is a critical section of the exam, as deploying and configuring VMware vSphere Foundation (VVF) compute components is a must know section.
This post is part of a series of blog posts designed to help you to pass the VMware Certified Professional – VMware vSphere Foundation Administrator (2V0-16.25) certification exam! The upcoming study guide page is here – VCP-VVF Administrator (for now, work-in-progress). We follow the official VMware Blueprint for the exam – VMware vSphere Foundation Administrator (PDF). Most of the work will be done here on this blog, and, in the end, the document will be released as a PDF, like the previous versions.
Why This Objective Matters
The VMware vSphere Foundation (VVF) platform, built on VMware ESXi and vCenter Server, powers virtualized data centers and hybrid clouds. Objective 2.2, Part 1, tests your ability to deploy and configure these core compute components in various scenarios, such as setting up a new VVF environment for a small business or scaling an existing infrastructure. This section is heavily weighted in the 2V0-16.25 exam (approximately 20% of questions), as it covers foundational skills for managing virtualized environments. Understanding hardware requirements and optional components like vSAN is crucial for ensuring compatibility and performance. Let’s break down the deployment, configuration, hardware requirements, and vSAN specifics.
Understanding VVF Compute Components
The VMware vSphere Foundation (VVF) platform relies on two core compute components:
- VMware ESXi: A type-1 hypervisor installed directly on physical servers to host virtual machines (VMs). It abstracts hardware resources and provides the virtualization layer.
- VMware vCenter Server: A centralized management solution for configuring, monitoring, and orchestrating ESXi hosts and VMs.
Objective 2.2, Part 1, tests your ability to deploy and configure these components in various scenarios, such as setting up a new VVF environment for a small business or upgrading an existing vSphere infrastructure. This section is heavily practical, with approximately 60% of the VCP-VVF exam focused on installation, configuration, and management tasks. Let’s break down the deployment and configuration process.
1. Deploying VVF Compute Components: Step-by-Step
Deploying ESXi and vCenter is the first step in establishing a VVF environment. Below is a semi-detailed guide. I have not done a step-by-step considering that very little has changed since vSphere 7 or 8. Also, I find that the VCP8-DCV Study guide (especially the VMware Blueprint with all the chapters is way more better!!)
I can share few links from previous VCP-DCV guide here or just go to the VCP8-DCV Study guide and look for a detailed chapter:
Note: Also, at the same time, I want to keep the guide more compact in size, so too detailed = too large in size!
Overview: ESXi is installed directly on physical servers to enable virtualization. Manual installation is common for small to medium environments.
Detailed Process:
- Prepare Hardware – verify server compatibility using VMware’s Hardware Compatibility List (HCL) at https://www.vmware.com/resources/compatibility/search.php.
- Ensure servers meet minimum hardware requirements (see below).
Download the ESXi ISO:
- Access the Broadcom Customer Portal and download the ESXi ISO file (e.g., VMware-ESXi-9.0.0-24813472.iso for vSphere 9.0). Verify the latest version for VVF 9.0.
- Check the ISO’s integrity using checksums provided on the portal.
Create Installation Media:
- Use tools like Rufus or Etcher to create a bootable USB drive, or burn the ISO to a DVD.
- Alternatively, use IPMI (e.g., iLO, iDRAC) for remote ISO mounting.
Boot and Install:
- Insert the USB/DVD or mount via IPMI, then boot the server.
- Follow the ESXi installer prompts:
- Select the target disk (local SSD/HDD or SAN-attached storage, minimum 32 GB).
- Set a root password (minimum 7 characters, including letters and numbers).
- Choose the keyboard layout and accept the license agreement.
- Installation takes 5-10 minutes, depending on hardware.
Initial Configuration:
- Access the ESXi Direct Console User Interface (DCUI) via a monitor or remote console.
- Configure the management network (vmk0):
- Assign a static IP, subnet mask, gateway, and DNS servers (e.g., IP = 192.168.1.10, Subnet = 255.255.255.0, Gateway = 192.168.1.1, DNS ).
- Enable SSH (optional, for scripting/troubleshooting): esxcli system settings advanced set -o /Net/GuestIPHack -i 1.
Test connectivity: Ping the gateway and DNS servers from the DCUI.
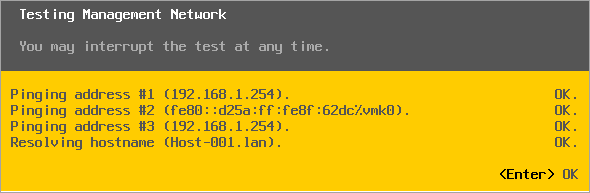
Scenario Example: Install ESXi 9.0 on four servers, each with 16 CPU cores, 64 GB RAM, and 500 GB SSD storage. Configure static IPs (192.168.1.10-13) and verify HCL compatibility.
- Hardware Requirements for ESXi 9.0: CPU: 64-bit x86 processor, minimum 2 cores (8+ recommended). Must support SSSE3, SSE4.1, SSE4.2, and VT-x/AMD-V.
- Memory: Minimum 8 GB RAM (32 GB+ for production, 64 GB+ for vSAN).
- Storage: Minimum 32 GB local disk/SD card for boot (100 GB+ SSD recommended).
- Network: 1 GbE NIC minimum (10 GbE for vSAN or high-performance workloads).
- Other: UEFI/BIOS with virtualization extensions enabled.
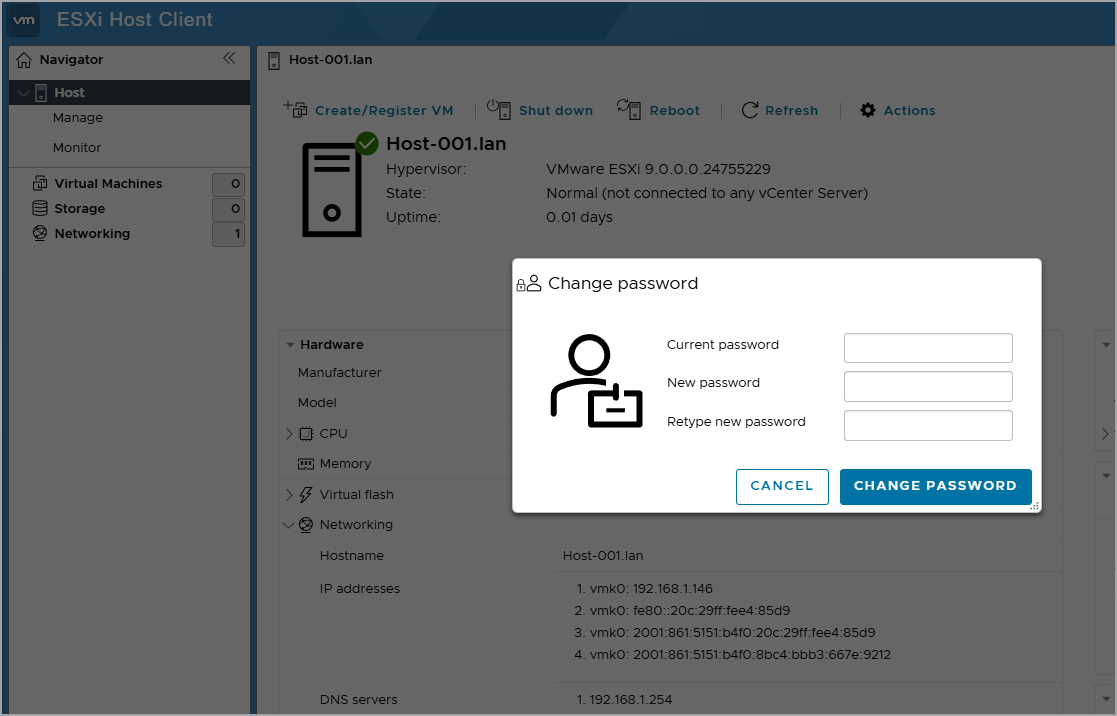
ESXi 9 password change screen example
2. Scripting ESXi Deployment and Configuration
Overview: Scripting automates ESXi deployment and configuration, saving time in large environments. Common tools include VMware PowerCLI and Kickstart scripts.
PowerCLI for ESXi:
- Install PowerCLI: Install-Module -Name VMware.PowerCLI (requires PowerShell 7+).
- Example Script (Configure network and join vCenter):powershell
Connect-VIServer -Server 192.168.1.20 -User [email protected] -Password <password>
$esxiHost = “192.168.1.10”
$esxiUser = “root”
$esxiPass = “<root-password>”
Connect-VIServer -Server $esxiHost -User $esxiUser -Password $esxiPass
Set-VMHostNetworkAdapter -VMKernel -Name vmk0 -IP 192.168.1.10 -SubnetMask 255.255.255.0
Add-VMHost -Server 192.168.1.20 -Location (Get-Datacenter -Name “MainDC”) -Name $esxiHost -User $esxiUser -Password $esxiPass
Use Case: Automate network configuration and vCenter integration for multiple hosts.
Kickstart for ESXi:
Overview: Kickstart scripts automate ESXi installation via a configuration file (ks.cfg).
Example Kickstart File:
bash
vmaccepteula
rootpw Password123!
install –firstdisk –overwritevmfs
network –bootproto=static –ip=192.168.1.10 –netmask=255.255.255.0 –gateway=192.168.1.1 –nameserver=8.8.8.8 –hostname=esxi1.company.local
reboot
Deployment:
- Include ks.cfg in the ESXi ISO’s boot configuration (e.g., via PXE or USB).
- Boot the server with the Kickstart file: esxcli system boot device set –bootdevice=usb –bootfs=<path-to-ks.cfg>.
Scenario Example: Use a Kickstart script to install ESXi on the four hosts, setting static IPs and enabling SSH.
Study Tip: Practice PowerCLI scripts in a lab to automate ESXi configuration. Memorize key Kickstart parameters (e.g., vmaccepteula, network, rootpw) for exam questions.
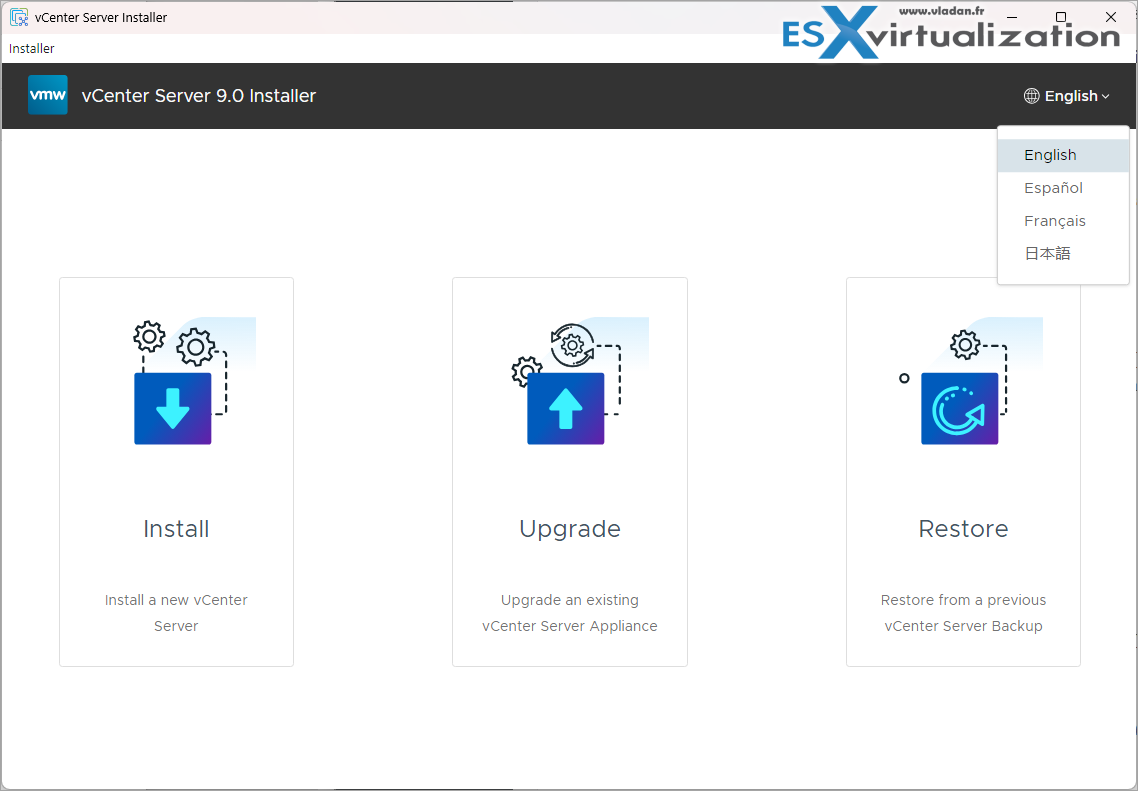
3. Deploy vCenter Server Appliance (VCSA)
Overview: VCSA is a Linux-based virtual appliance for centralized ESXi management. VVF 9.0 includes a vCenter Server Standard license.
Detailed Process:
Prepare for Deployment:
- Ensure one ESXi host is installed (e.g., 192.168.1.10).
- Download the VCSA ISO (e.g., VMware-VCSA-all-9.0.0-24703748.iso) from Broadcom’s portal.
- Verify network prerequisites: DNS resolution, NTP server (e.g., pool.ntp.org), static IP.
Launch the Installer:
Mount the VCSA ISO on a local machine.
Run the installer (e.g., vcsa-ui-installer/win32/installer.exe for Windows).
Select “Install” for a new VCSA deployment.
Stage 1: Deploy the Appliance:
- Connect to the ESXi host (IP/hostname, root credentials).
- Select Embedded vCenter with Embedded PSC (simplest for VVF single-site deployments).
Choose appliance size:
- Tiny: 4 vCPUs, 16 GB RAM, 700 GB storage (up to 10 hosts, 100 VMs).
- Small: 8 vCPUs, 24 GB RAM, 775 GB storage (up to 100 hosts, 1,000 VMs).
- Medium (scenario choice): 16 vCPUs, 32 GB RAM, 990 GB storage (up to 400 hosts, 4,000 VMs).
- Configure network: Static IP (e.g., 192.168.1.20), DNS (8.8.8.8), NTP, hostname (e.g., vcsa.company.local).
- Select a datastore (e.g., local SSD on 192.168.1.10).
Stage 2: Configure Services:
- Set up SSO: Create a new domain (e.g., vsphere.local) or join an existing one.
- Configure root password and enable SSH (optional).
- Use the embedded PostgreSQL database.
- Complete deployment and access VCSA via https://192.168.1.20/ui.
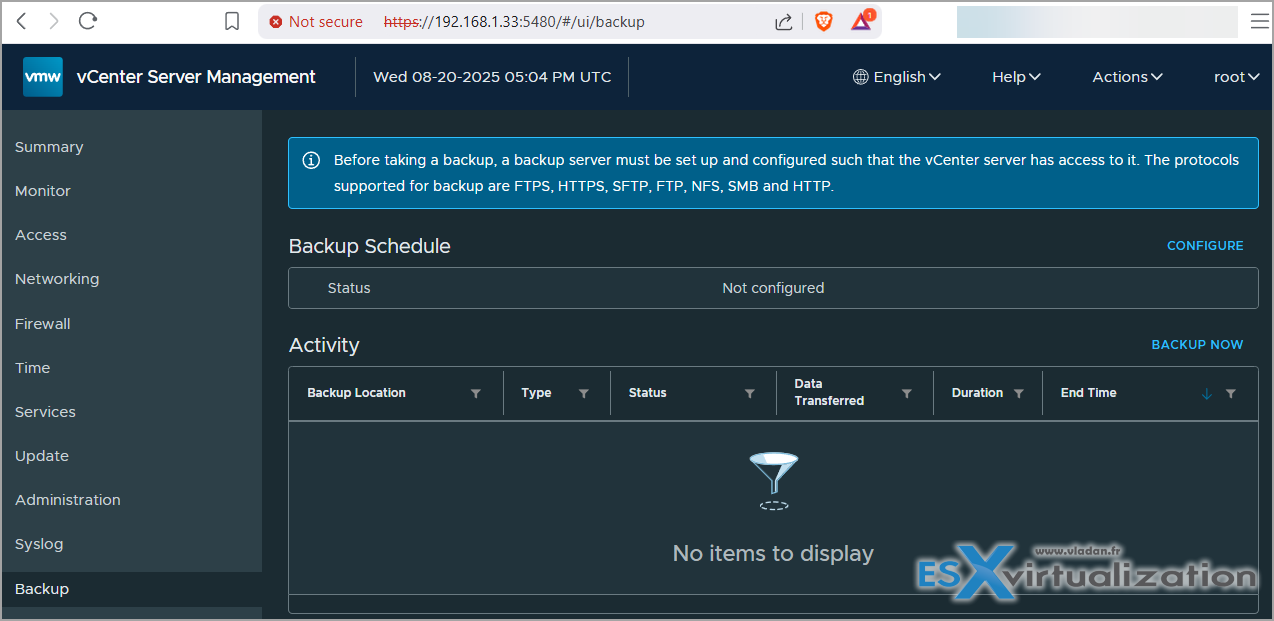
Post-Deployment:Use VAMI (https://192.168.1.20:5480) to configure time zones, updates, and backups.
Scenario Example: Deploy VCSA 9.0 on the first ESXi host (192.168.1.10) with a Medium appliance size, static IP (192.168.1.20), and SSO domain vsphere.local.
Requirements for VCSA 9.0:
Tiny (up to 10 hosts, 100 VMs):CPUs: 2 vCPUs
- Memory: 12 GB
- Storage: 528 GB (default, thin provisioning; varies with disk provisioning mode)
Small (up to 100 hosts, 1,000 VMs):CPUs: 4 vCPUs
- Memory: 19 GB
- Storage: 578 GB (default, thin provisioning)
Medium (up to 400 hosts, 4,000 VMs):CPUs: 8 vCPUs
- Memory: 28 GB
- Storage: 823 GB (default, thin provisioning)
Large (up to 1,000 hosts, 10,000 VMs):CPUs: 16 vCPUs
- Memory: 37 GB
- Storage: 1,263 GB (default, thin provisioning)
X-Large (up to 2,500 hosts, 45,000 VMs):CPUs: 24 vCPUs
- Memory: 56 GB
- Storage: 2,143 GB (default, thin provisioning)
Scripting VCSA Deployment: Use PowerCLI to automate VCSA deployment (examples of scripts are part of the ISO)
4. Add ESXi Hosts to vCenter
Overview: Connecting ESXi hosts to vCenter enables centralized management and advanced features, such as HA or vMotion.
Detailed Process:
- Log in to the vSphere Client (https://192.168.1.20/ui) with SSO credentials.
- Create a data center (e.g., “MainDC”) under Hosts and Clusters.
- Add hosts: Enter each ESXi host’s IP/hostname (192.168.1.10-13) and root credentials.
- Accept SSL certificates and verify the VVF 9.0 license (auto-applied).
- Check host status in vCenter (should show “Connected”).
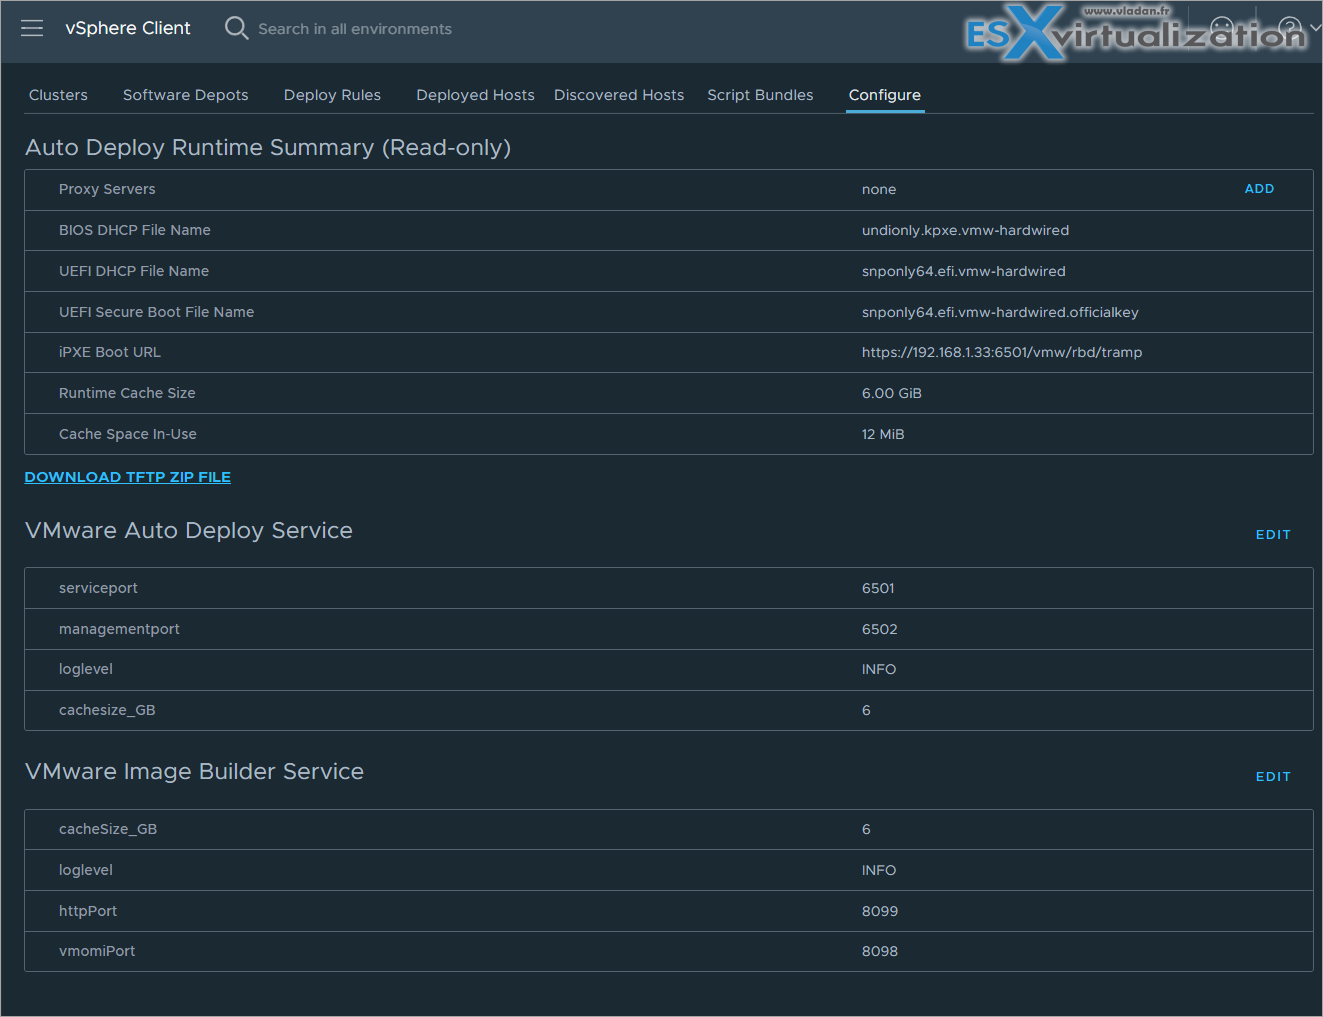
5. ESXi Auto Deploy
Overview: VMware vSphere Auto Deploy is an advanced deployment method for provisioning ESXi hosts statelessly or with stateful caching, ideal for large-scale environments or rapid scaling.
Detailed Process:
Prerequisites:
- vCenter Server 9.0 (deployed first, see below).
- Auto Deploy service enabled in vCenter.
- TFTP server for boot images, DHCP server for IP assignment, and an ESXi Image Profile (from the ESXi ISO).
- Host Profile to define configuration settings (e.g., network, storage).
Setup Auto Deploy:
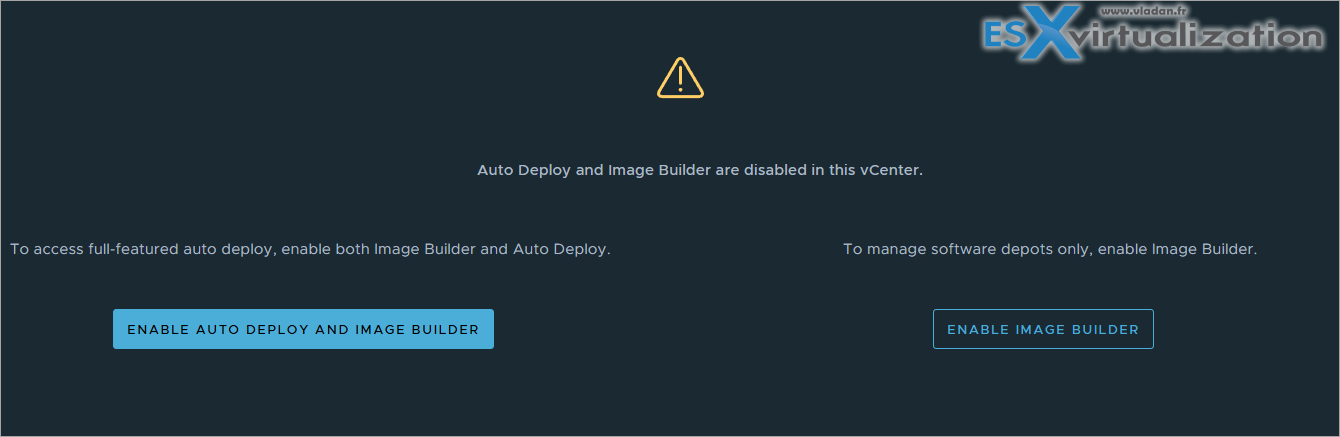
- In vCenter, navigate to Home → Auto Deploy → Configure.
- Upload the ESXi Image Profile (created from the ESXi 9.0 ISO) to the vCenter Software Depot.
- Configure the TFTP server with the ESXi boot image (e.g., mboot.c32 and undionly.kpxe).
- Set up DHCP to assign IPs and point to the TFTP server (Option 66 for TFTP server IP, Option 67 for boot file).
Note: Check our older post about Autodeploy (vSphere 6.X …) – Deploy ESXi Hosts Using Autodeploy.
Deploy Hosts:
- Boot target servers via PXE, ensuring they connect to the DHCP/TFTP servers.
- Auto Deploy loads the ESXi image into memory (stateless) or installs it to a local disk (stateful).
- Apply a Host Profile to configure network, storage, and security settings automatically.
Scenario Example: For the four-host environment, configure Auto Deploy to provision ESXi 9.0 on three additional hosts (after manually installing the first for VCSA). Use a Host Profile to set static IPs (192.168.1.11-13) and vSAN disk groups.
Advantages:
- Rapid provisioning of multiple hosts.
- Consistent configurations via Host Profiles.
- Stateless mode reduces local storage needs.
Exam Note: Understand Auto Deploy components (Image Profile, Host Profile, TFTP, DHCP) and when to use stateless vs. stateful modes.
Study Tip: Practice Auto Deploy in a VMware Hands-On Lab https://labs.hol.vmware.com/. Memorize the setup sequence: vCenter → TFTP/DHCP → Image Profile → Host Profile → PXE boot.
VMware vSAN Requirements for VVF
Overview: vSAN provides software-defined storage for VVF 9.0, pooling local disks across ESXi hosts.
In a three-host configuration, you can tolerate only one host failure by setting the number of failures to tolerate to 1. vSAN saves each of the two required replicas of virtual machine data on separate hosts. The witness object is on a third host. When a host fails, vSAN cannot rebuild data on another host to protect against another failure. If a host must enter maintenance mode, vSAN cannot evacuate data from the host to maintain policy compliance. While the host is in maintenance mode, data is exposed to a potential failure or inaccessibility if an additional failure occurs. Check more VSAN requirements here.
So IMHO, the real world specs should be:
- Minimum Hosts: 4 hosts for VVF 9.0 (ensures redundancy and scalability).
- CPU: 8+ cores per host (16+ recommended).
- Memory: 32 GB RAM per host (64 GB+ for deduplication/compression).
- Storage:Cache Tier: 1 SSD per host (400 GB+, NVMe preferred).
- Capacity Tier: 1+ HDDs/SSDs per host (1 TB+ total capacity).
Example:
- 1 NVMe SSD (400 GB) + 2 SSDs (1 TB each) per host.
- Network: 10 GbE NICs for vSAN traffic, dedicated vmkernel port (vmk1), MTU 9000.
- Controller: SAS/SATA HBA or RAID controller in passthrough mode.
Architecture:
- Cluster: 4+ hosts with vSAN enabled, forming a single shared datastore.
- Storage Policy: Default FTT=1 (RAID-1 mirroring) for redundancy.
- Configuration: Enable vSAN via vCenter (Cluster → Configure → vSAN → Services).
Conclusion
Deploying and configuring VVF compute components (ESXi and vCenter) with methods like Auto Deploy and scripting is an important skill for the 2V0-16.25 exam. Understanding hardware and vSAN requirements ensures you’re ready for real-world scenarios. It is great to practice too. Practice these tasks in VMware Hands-On Labs or via your nested homelab (via VMware Workstation Free software) , and stay tuned for the next part of Objective 2.2 in our VCP-VVF Study Guide, which will be released as a PDF upon completion.
Download the study guide here.
More posts from ESX Virtualization:
- Proxmox 9 (BETA 1) is out – What’s new?
- Another VMware Alternative Called Harvester – How does it compare to VMware?
- VMware vSphere 9 Standard and Enterprise Plus – Not Anymore?
- VMware vSphere Foundation (VVF 9) and VMware Cloud Foundation (VCF 9) Has been Released
- Vulnerability in your VMs – VMware Tools Update
- VMware ESXi FREE is FREE again!
- No more FREE licenses of VMware vSphere for vExperts – What’s your options?
- VMware Workstation 17.6.2 Pro does not require any license anymore (FREE)
- Migration from VMware to another virtualization platform with Veeam Backup and Replication
- Two New VMware Certified Professional Certifications for VMware administrators: VCP-VVF and VCP-VCF
- Patching ESXi Without Reboot – ESXi Live Patch – Yes, since ESXi 8.0 U3
- Update ESXi Host to the latest ESXi 8.0U3b without vCenter
- Upgrade your VMware VCSA to the latest VCSA 8 U3b – latest security patches and bug fixes
- VMware vSphere 8.0 U2 Released – ESXi 8.0 U2 and VCSA 8.0 U2 How to update
- What’s the purpose of those 17 virtual hard disks within VMware vCenter Server Appliance (VCSA) 8.0?
- VMware vSphere 8 Update 2 New Upgrade Process for vCenter Server details
- VMware vSAN 8 Update 2 with many enhancements announced during VMware Explore
- What’s New in VMware Virtual Hardware v21 and vSphere 8 Update 2?
- Homelab v 8.0
- vSphere 8.0 Page
- Upgrade VMware ESXi to 7.0 U3 via command line
- VMware vCenter Server 7.0 U3e released – another maintenance release fixing vSphere with Tanzu
- What is The Difference between VMware vSphere, ESXi and vCenter
- How to Configure VMware High Availability (HA) Cluster
Stay tuned through RSS, and social media channels (Twitter, FB, YouTube)
Leave a Reply